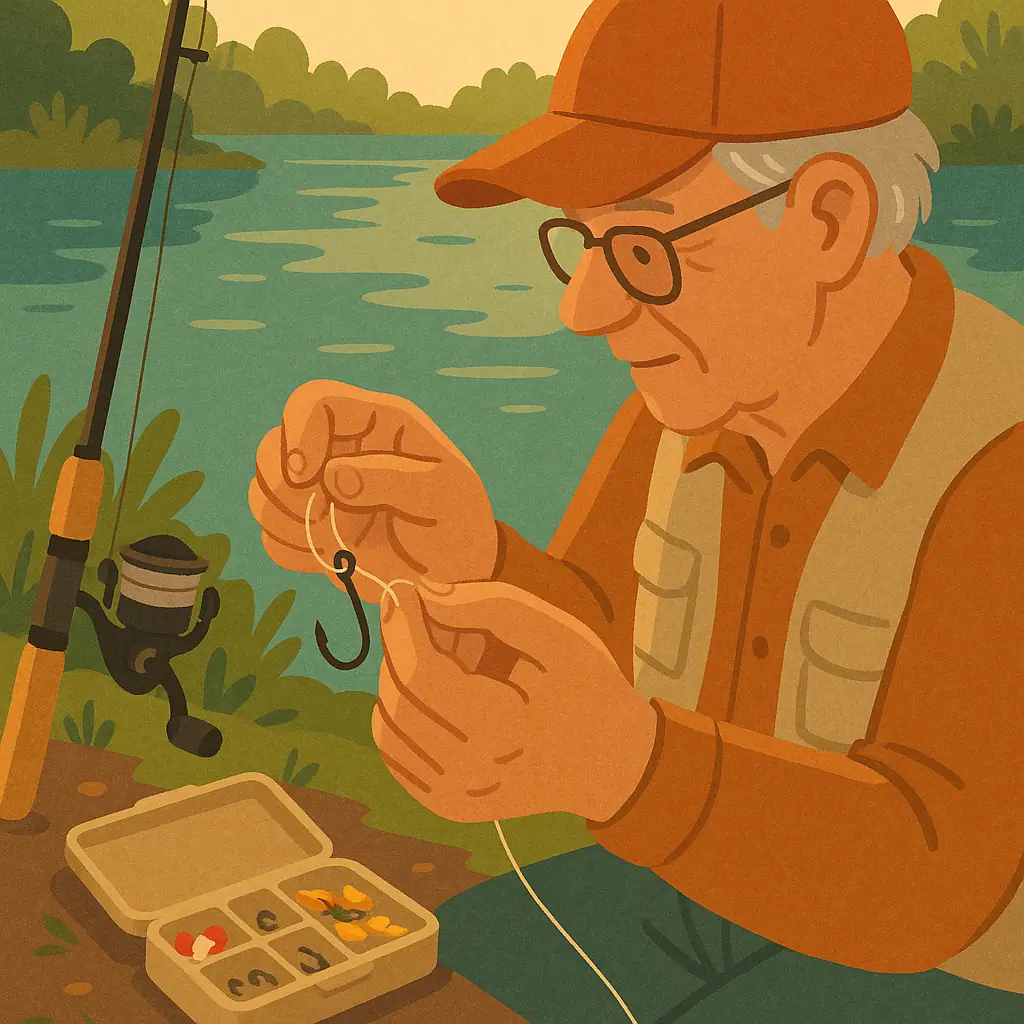
The improved clinch knot is one of those fishing skills that feels tricky for about five minutes, then becomes second nature. If you can wrap line around itself, pass the tag end through a loop, and pull slowly, you can learn this knot.
For a beginner freshwater angler, that matters. A dependable knot keeps your hook, swivel, or small lure connected when a bluegill, bass, trout, or catfish finally bites. It also gives you confidence before the first cast, which is half the battle on a relaxed day by the water.
If you are still building your basic setup, pair this knot practice with a simple rod, line, and hook routine from our first-trip fishing gear guide. A good knot works best when the rest of your tackle is simple and comfortable.
Take your time with the steps below. You do not need speed. You need neat wraps, a moistened knot, and a slow steady pull.
What Is the Improved Clinch Knot?
The improved clinch knot is a common fishing knot used to tie monofilament line to a hook, swivel, or lure. It is a small knot, sits close to the eye of the hook, and works especially well for many light-to-medium freshwater setups.
The word improved simply means the tag end takes one extra pass through a final loop before the knot is tightened. That extra pass helps the knot lock down more securely than the older basic clinch knot when tied correctly.
When Beginners Should Use an Improved Clinch Knot
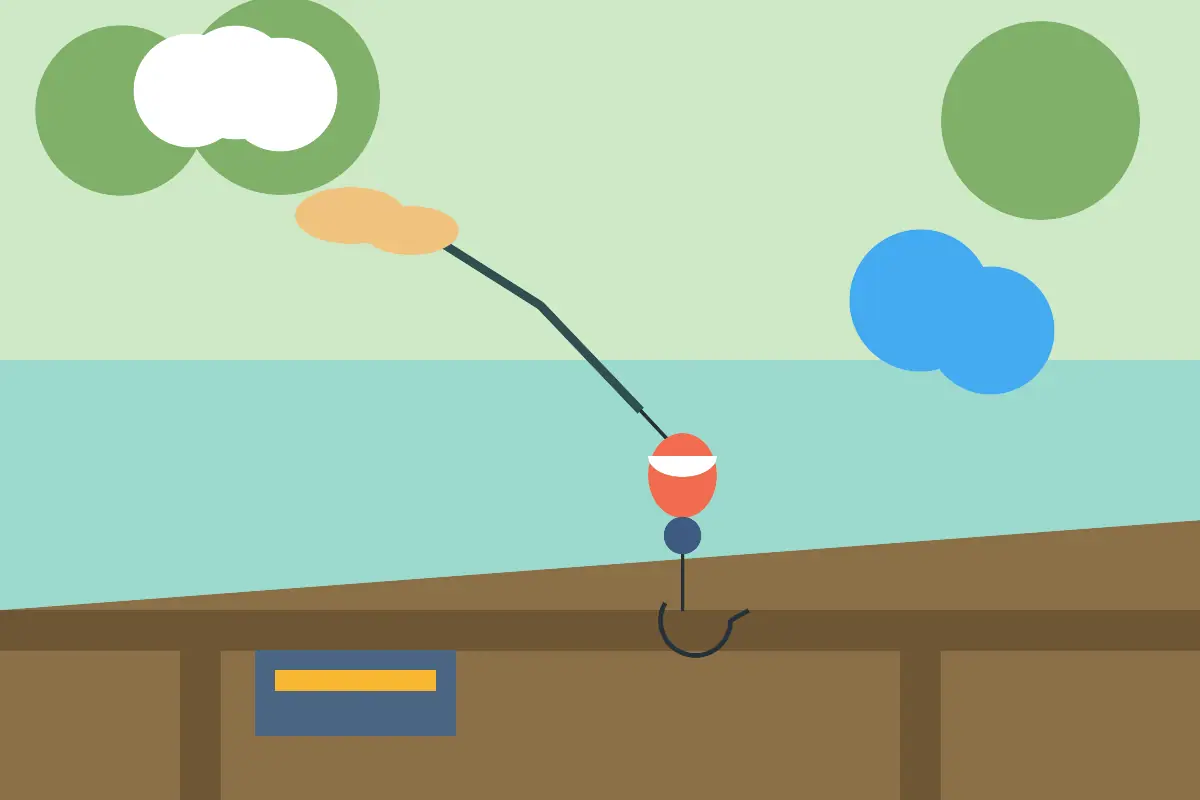
Use the improved clinch knot when you are tying a hook for live bait, attaching a small spinner, connecting a snap swivel, or setting up a basic bobber rig. It is a friendly choice when you are fishing with monofilament line and modest tackle.
For visual learners, the tying sequence is also shown by NetKnots in its improved clinch knot instructions, which confirms the same basic pattern: thread the hook eye, make several turns, pass through the first loop, pass through the larger loop, wet, tighten, and trim.
This knot is not the best answer for every line type. Very heavy line can be harder to cinch neatly, and braided line often needs a different knot. But for many beginner freshwater trips with monofilament, it is a practical everyday knot to learn first.
Best uses for this knot
- Small hooks: Great for bluegill, panfish, stocked trout, and light bass fishing.
- Snap swivels: Useful when you want to change small lures without retying every time.
- Simple lures: Works well with many inline spinners, spoons, and small freshwater presentations.
- Practice sessions: Easy to rehearse at the kitchen table before your next outing.
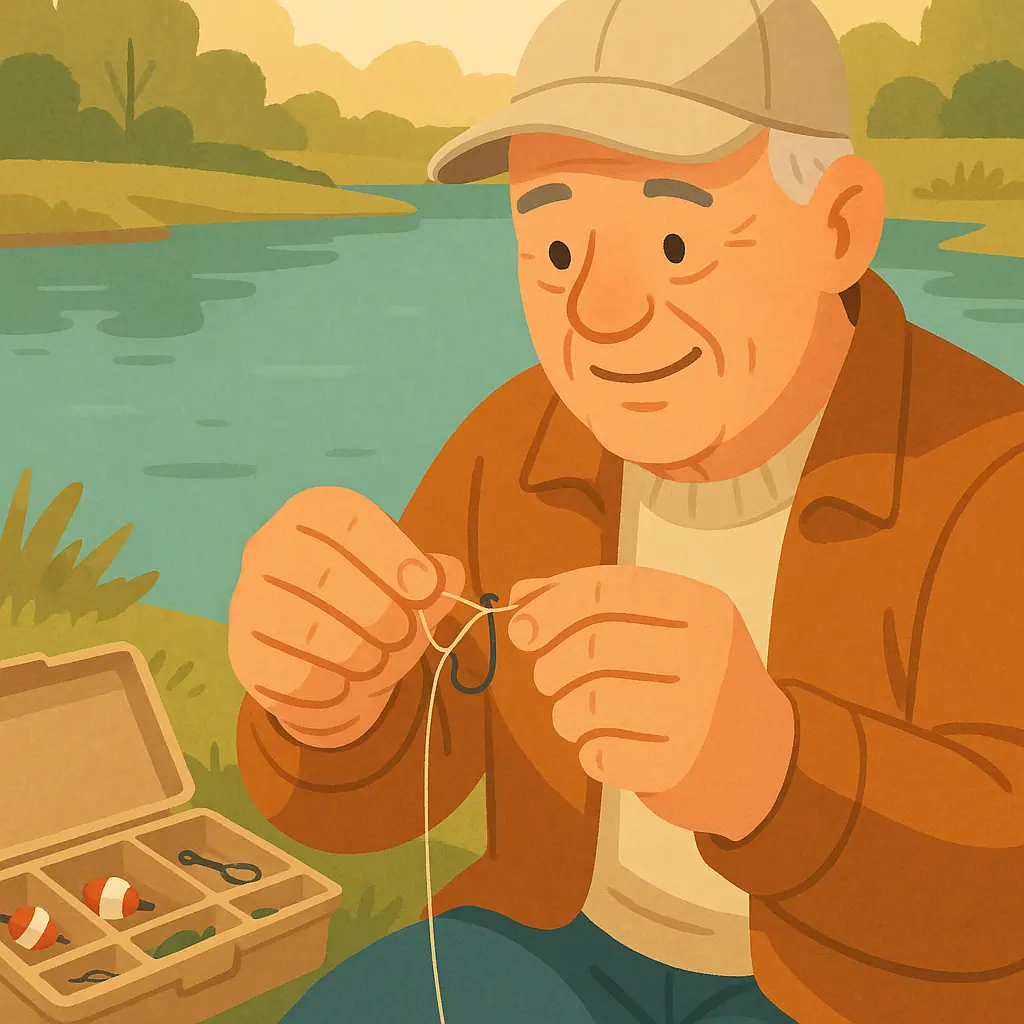
How to Tie the Improved Clinch Knot Step by Step
Before you start, give yourself six to eight inches of tag end after the line passes through the hook eye. That gives your fingers room to work, especially if your hands are cold, stiff, or simply new to tying knots.
Step 1: Thread the hook eye
Pass the tag end of the line through the eye of the hook, lure, or swivel. Hold the hook carefully by the bend or the lure body so the point stays away from your fingers.
Step 2: Make five to seven wraps
Wrap the tag end around the standing line five to seven times. Keep the wraps neat, like a little spring. If they cross over each other badly, pull the line out and start again. A clean knot is stronger than a messy one.
Step 3: Pass back through the first loop
After wrapping, bring the tag end back down toward the hook eye. You will see a small loop right above the eye. Pass the tag end through that loop.
Step 4: Pass through the larger loop
Now pass the tag end through the larger loop that formed when you came back through the first loop. This is the part that makes it the improved version.
Step 5: Wet, tighten, and trim
Moisten the knot with a little water or saliva, then pull steadily on the standing line while guiding the wraps down toward the hook eye. Once the coils are snug and seated, trim the tag end close with clippers, leaving a tiny bit of tag so the knot is not cut too short.
Common Beginner Mistakes and Easy Fixes
Most improved clinch knot problems come from rushing the final tightening. If the wraps bunch up, overlap, or slide unevenly, the knot can weaken. The fix is simple: slow down, wet the knot, and pull steadily instead of jerking.
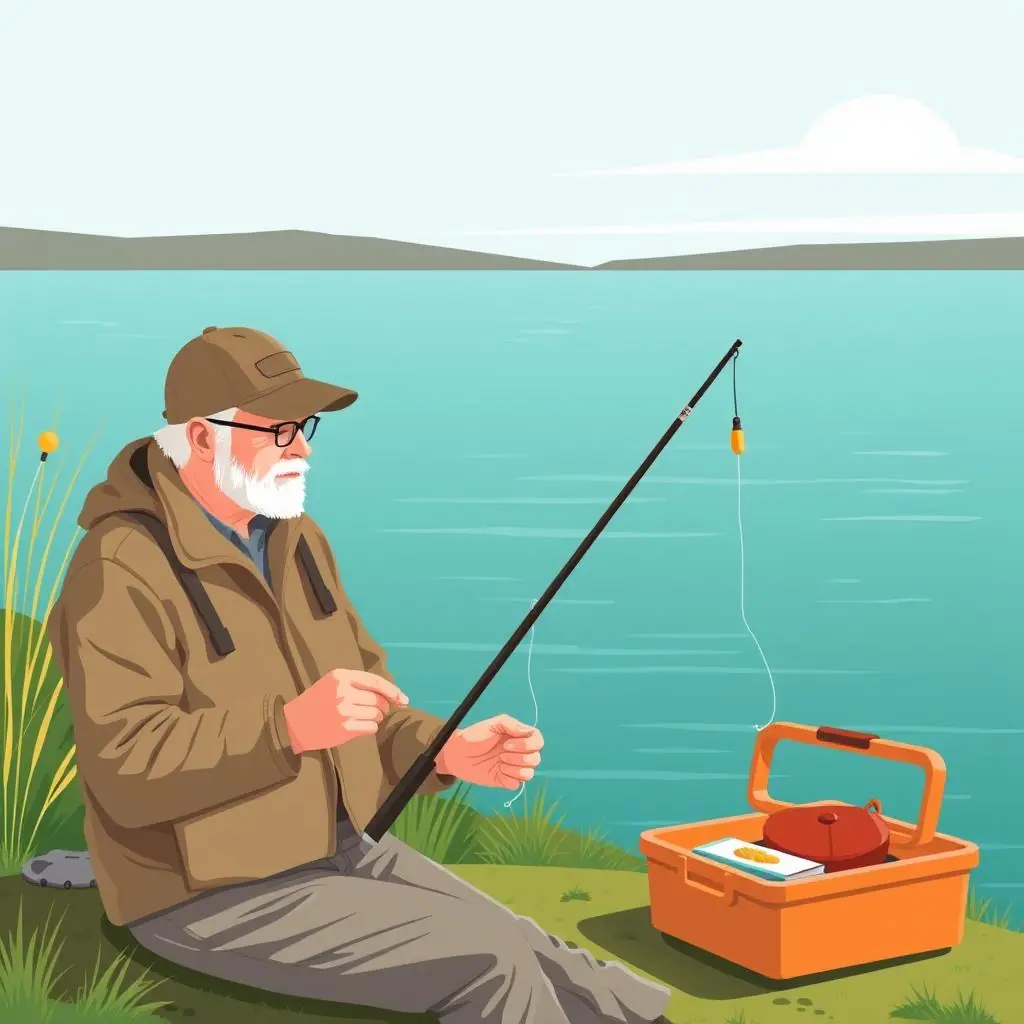
Good casting and good knot tying support each other. Once your knot feels reliable, spend a little time with our guide to basic fishing casting so the first few casts do not undo all that careful setup work.
- Too few wraps: With light line, five to seven wraps usually gives the knot more grip.
- Dry tightening: Friction can damage line, so wet the knot before pulling it tight.
- Crossed coils: If wraps stack poorly, retie. Do not hope a messy knot will behave.
- Tag trimmed too close: Leave a tiny tag end instead of cutting flush against the knot.
- Wrong line choice: If you are using braid or heavy line, consider learning a knot better suited to that material.
Pros and Cons of the Improved Clinch Knot
Beginner friendly
The steps are short, repeatable, and easy to practice with basic hooks and monofilament line.
Works with everyday tackle
It is useful for hooks, small lures, and swivels on many relaxed freshwater trips.
Compact and tidy
When tied neatly, the knot sits close to the hook eye and does not create bulky clutter.
Needs careful tightening
If you tighten it dry or let the wraps cross badly, the knot can lose strength.
Not ideal for every line
Braided line and very heavy line often call for different knot choices.
Practice Routine Before Your Next Trip
Practice this knot three times in a row before you put your tackle away. The first one teaches the pattern. The second one cleans up the wraps. The third one builds confidence.
After tying, give the hook a gentle steady pull with the point safely covered or pointed away from you. You are not trying to break the line. You are simply checking that the knot seats firmly and does not slip.
When a fish finally bites, your knot is only one part of the moment. The next skill is knowing how to lift the rod and keep pressure without yanking too hard, which we cover in our friendly guide to setting the hook properly.
Frequently Asked Questions
Is the improved clinch knot good for beginners?
Yes. It is one of the better first knots because the steps are easy to repeat and it works with many basic freshwater hooks, swivels, and small lures.
How many wraps should I make?
Five to seven wraps is a comfortable range for many beginner monofilament setups. Lighter line often benefits from more wraps, while thicker line may become harder to tighten neatly.
Should I wet the knot before tightening it?
Yes. Moistening the knot helps reduce friction as the coils slide into place. That small habit can protect the line and help the knot seat smoothly.
Can I use the improved clinch knot with braided line?
It is usually not the best first choice for braid. If you fish braided line, learn a braid-friendly knot and test it carefully before relying on it.
Final Thoughts
The improved clinch knot is not fancy, and that is exactly why it belongs in a beginner angler’s toolkit. It teaches patience, clean wraps, and steady pressure — the same habits that make fishing more enjoyable overall.
Tie it slowly, test it gently, and retie anytime the line looks nicked or the knot looks messy. A fresh knot takes less than a minute, and it can save the fish you waited all afternoon to catch.