Slip bobber fishing is the next friendly step after a regular bobber starts feeling too short, awkward, or limiting. If you have ever tried to fish six, eight, or ten feet down with a fixed bobber, you already know the problem: the rig gets clumsy to cast before your bait ever reaches the right depth.
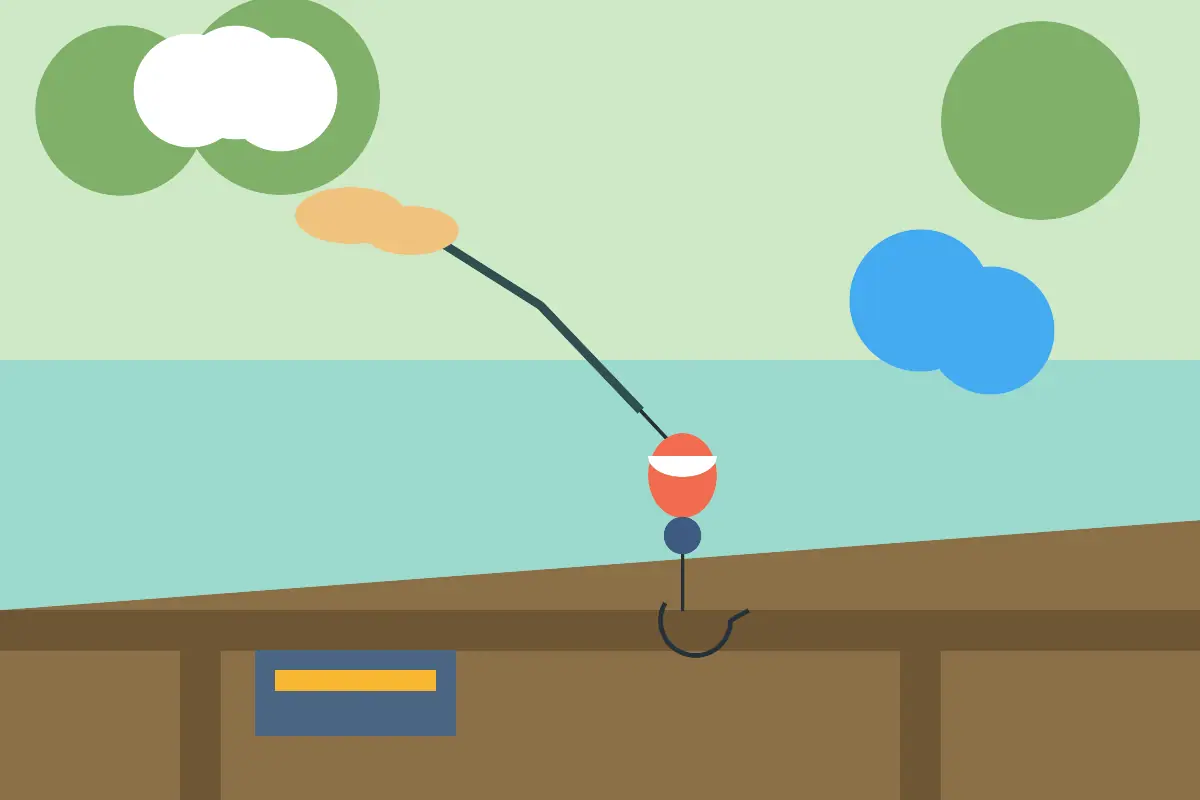
A slip bobber solves that by sliding on the line during the cast, then stopping at the depth you choose once it hits the bobber stop. You still get the easy bite signal of a float, but you are no longer stuck fishing only shallow water.
If you are brand new to float fishing, start with our basic bobber fishing guide first. This article builds on that same calm idea and shows when a sliding float makes better sense.
Why Slip Bobber Fishing Matters
A regular fixed bobber is wonderful in shallow water. Clip it two or three feet above the hook, add bait, cast gently, and watch for the float to dip. The trouble begins when fish are holding deeper than your rod can comfortably cast with a long line hanging below the bobber.
With slip bobber fishing, the bobber can slide down near the split shot while you cast. After the rig lands, the bait sinks, the line slides through the bobber, and the bobber stop catches at your chosen depth. That makes deeper water feel much more manageable for a beginner.
When a Regular Bobber Is Not Enough
You do not need a slip bobber for every trip. In fact, a fixed bobber is still simpler for shallow bluegill near a dock or pond edge. Reach for a slip bobber when depth, casting comfort, or fish location starts working against the regular setup.
Take Me Fishing describes fishing rigs as practical ways to present bait at the right depth and includes float-based options among common beginner setups. Their fishing rigs guide is a useful outside reference when you want to compare simple bait presentations before your next freshwater trip.
Use one when the fish are deeper
If you are fishing from a dock, steep bank, bridge area, or deeper pond hole, the fish may be below the comfortable range of a fixed bobber. A slip bobber lets you set that deeper depth without trying to cast with a long, swinging leader.
Use one when casting feels awkward
If the hook is hanging so far below the bobber that it bumps the ground, catches grass behind you, or feels unsafe to cast, the rig is telling you something. A slip bobber keeps the rig more compact until it lands in the water.
What You Need for a Slip Bobber Rig
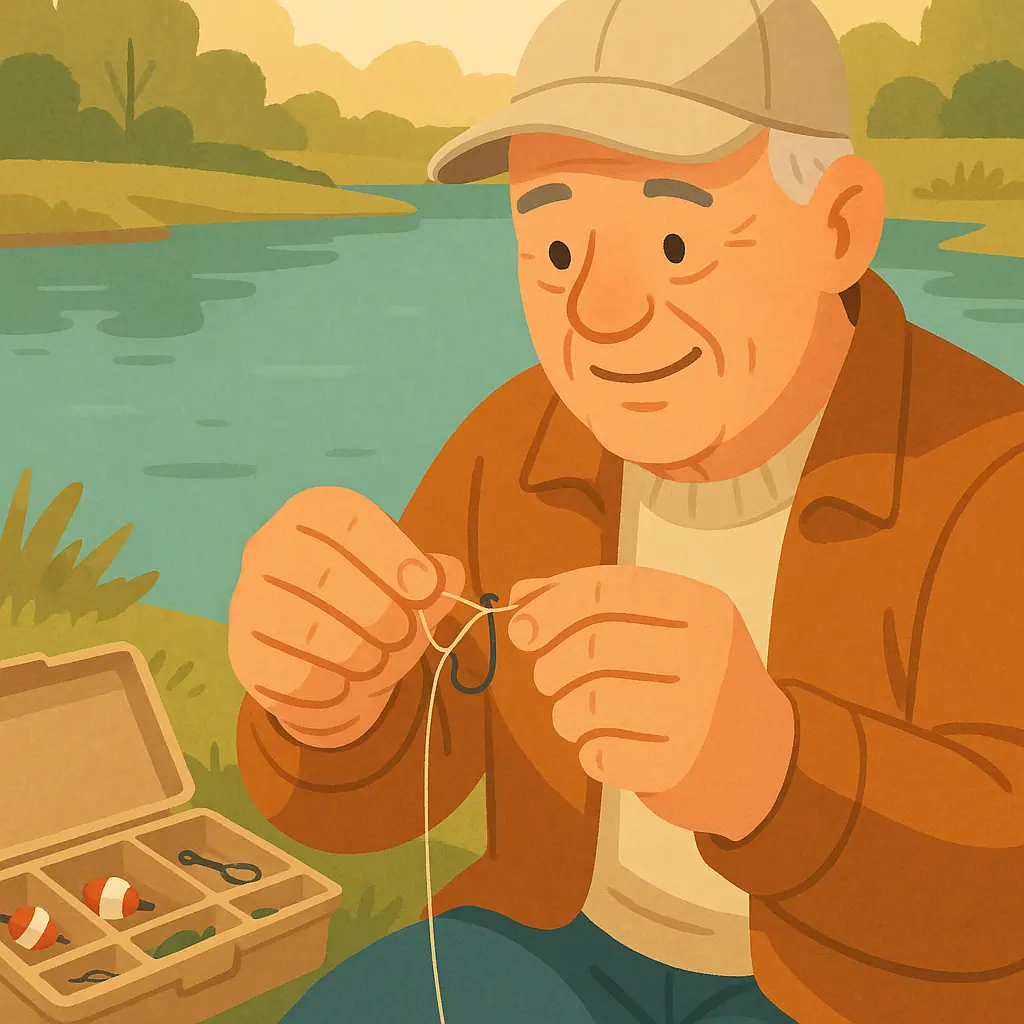
The parts are simple once you see the order. You need a bobber stop, a small bead, a slip bobber, split shot or another small weight, a hook, and bait. Most tackle shops sell little slip bobber kits with the stop and bead together.
Do not let the extra parts make it feel fancy. The job of each piece is clear: the stop sets depth, the bead protects the bobber opening, the bobber shows bites, the weight helps the bait sink, and the hook holds the bait.
- Bobber stop: A small thread, rubber, or string stop that slides on the line and marks your depth.
- Bead: A tiny plastic bead that keeps the bobber from sliding past the stop.
- Slip bobber: A float with a hole or tube that allows line to pass through it.
- Split shot: Small weight that helps the rig settle and keeps the bobber sitting correctly.
- Hook and bait: A simple hook with worm, minnow, or other beginner-friendly bait.
If live bait is part of your plan, our live bait fishing guide walks through worms, crickets, and minnows in a relaxed beginner-friendly way. Choose bait that matches the fish you are likely to find in that water.
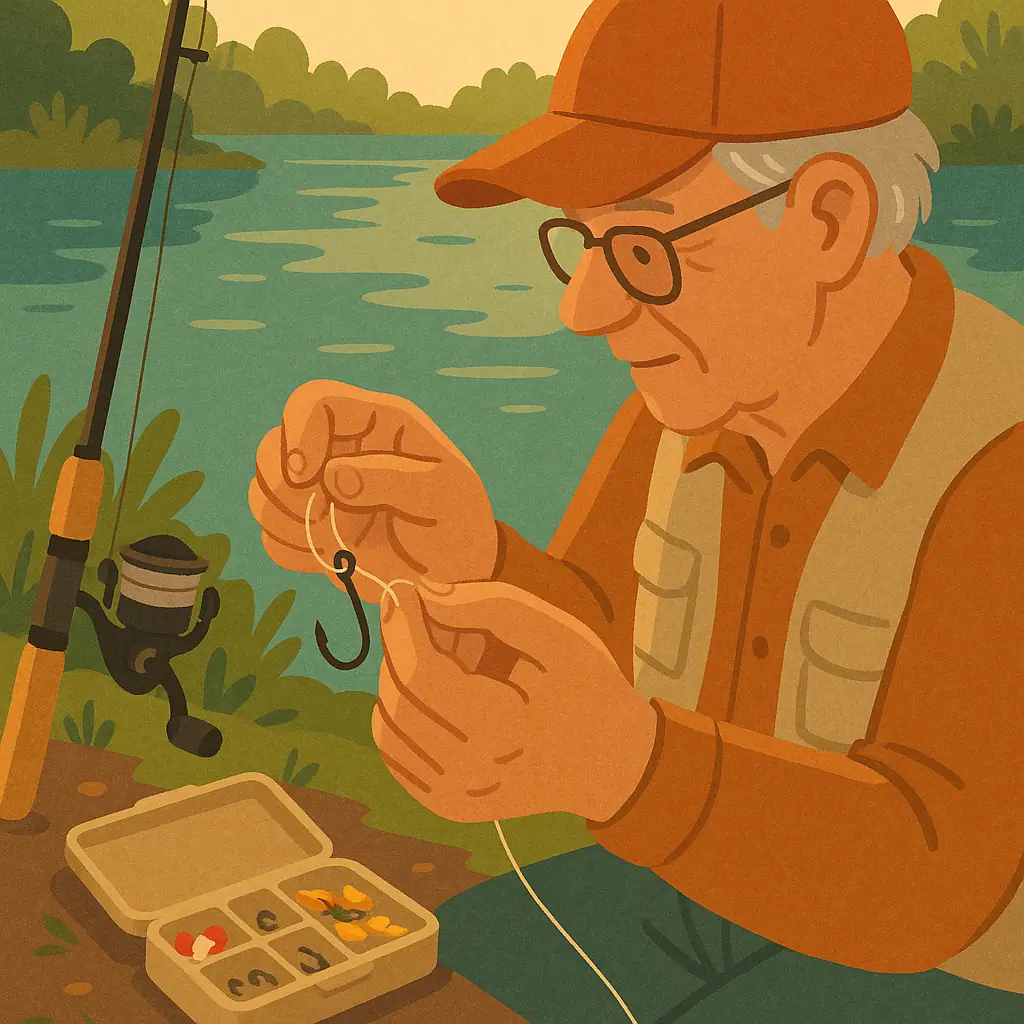
How to Rig a Slip Bobber Step by Step
Set your rod down, keep the hook safely away from your hands, and build the rig from the rod tip down toward the hook. The order matters because the bobber needs to slide freely until it reaches the stop.
Step 1: Add the bobber stop
Put the bobber stop on your main line first. If it is a thread stop, snug it enough to stay in place but not so tight that you cannot move it later. This little stop is what controls how deep your bait will sit.
Step 2: Add the bead
Slide the bead onto the line next. The bead sits between the stop and the bobber. It helps keep the stop from slipping into the bobber tube, especially when the bobber has a larger opening.
Step 3: Slide on the slip bobber
Thread the line through the slip bobber so it can move freely up and down. Before tying the hook, pull the line gently to make sure the bobber really slides. If it sticks dry in your hand, it will be frustrating on the water.
Step 4: Tie on the hook
Tie your hook to the end of the line. A simple, dependable knot is enough. If you want a refresher before rigging at the lake, review the improved clinch knot and practice once at home.
Step 5: Add split shot above the hook
Pinch one or two small split shot on the line above the hook. Start modest. Too much weight can sink a sensitive float or make your bait drop too sharply.
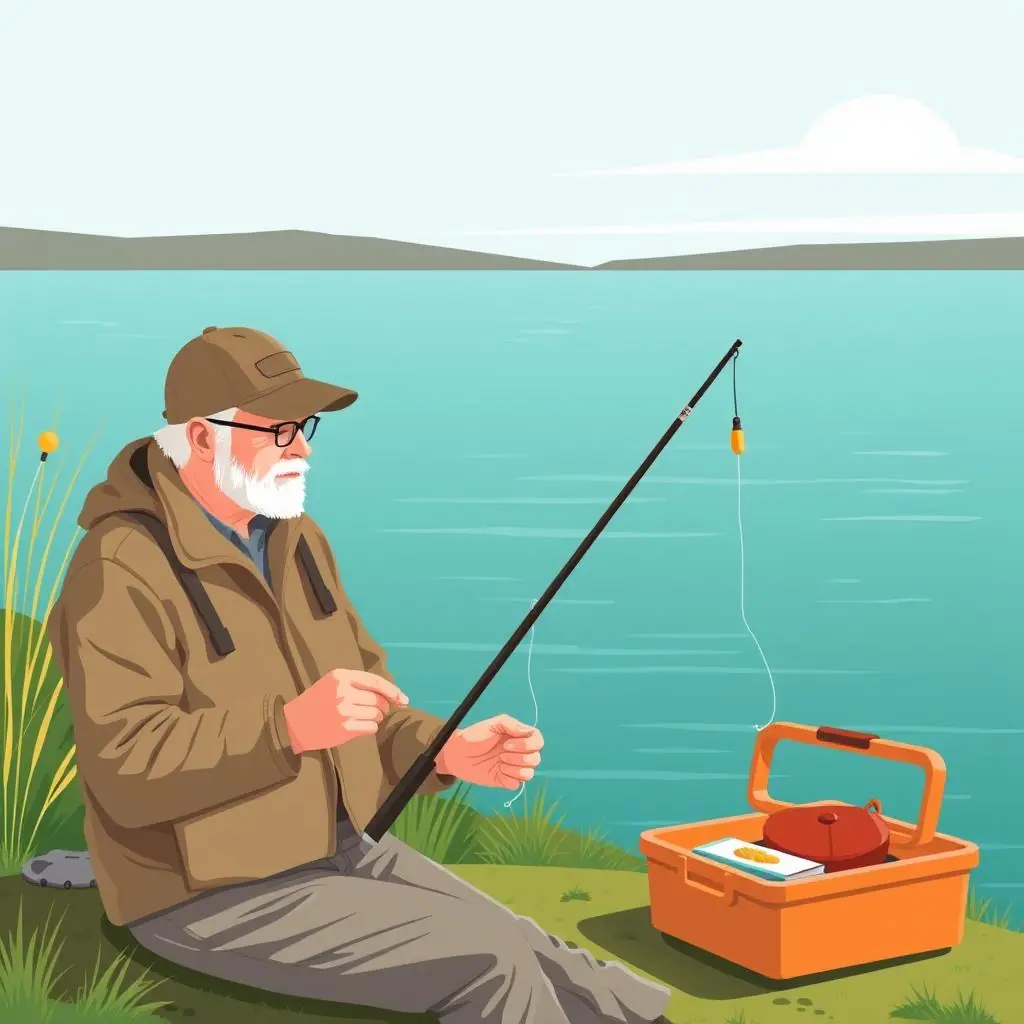
Step 6: Set the depth and test close
Slide the bobber stop up or down to set depth. Then drop the rig in nearby water before making a long cast. The bobber should float cleanly, the bait should sink under it, and the line should slide until the stop reaches the bead.
Setting Depth Without Guessing Too Much
Depth is the whole reason slip bobber fishing is useful. Still, you do not need to know the exact bottom contour to start. Pick a reasonable depth, watch what happens, and adjust in small steps.
If the bait keeps snagging bottom, slide the stop closer to the hook so the bait rides higher. If the bobber never moves and you suspect fish are deeper, slide the stop farther from the hook a foot at a time.
Common Slip Bobber Mistakes to Avoid
The first mistake is using a bobber that is too large for the weight and bait. A big float may stay visible, but it can resist light bites. Use the smallest float that still supports the rig clearly.
The second mistake is forgetting that the bobber must slide freely. If line twists, old knots, or damaged tackle block the bobber, the bait may never reach the depth you intended.
The third mistake is fishing too deep in weedy water. A slip bobber can reach down, but that does not mean it should sit in grass, sticks, or muck. Keep the bait just above the cover when you can.
Once the bobber goes under or slides steadily sideways, lift smoothly rather than jerking wildly. Our guide to setting the hook explains that calm lift-and-pressure approach in more detail.
Pros and Cons of Slip Bobber Fishing
Better for deeper water
You can suspend bait deeper without casting a long, awkward fixed-bobber leader.
Still beginner-friendly
You keep the visual bite signal that makes bobber fishing so relaxing for new anglers.
Easy to adjust
Moving the bobber stop lets you change depth without rebuilding the whole rig.
More small parts
The stop and bead add a little setup time, especially with cold fingers or low light.
Can tangle if rushed
Poor casting rhythm, too much weight, or a sticky bobber can create loops and twists.
A Simple Slip Bobber Checklist
Before you cast, run through this quick check. It is faster than untangling a rushed setup ten minutes later.
- Stop moves but holds: You can slide it by hand, but it does not drift on its own.
- Bead is in place: The bead sits between the stop and bobber.
- Bobber slides freely: The line passes through without sticking.
- Weight is modest: The float stands or sits correctly without sinking.
- Depth is realistic: The bait should hang above bottom weeds or snags.
- Cast is safe: The hook, bait, and weight are not swinging near people or branches.
When to Keep It Simpler
Slip bobbers are handy, but they are not mandatory. If you are fishing two feet deep for bluegill from a small dock, a regular bobber may be quicker and easier. Good fishing is not about using the most complicated rig; it is about matching the rig to the spot.
When wind, current, or moving water becomes part of the day, you may need to watch how your float drifts and adjust your casting angle. For a broader look at letting water movement work for you, read our drift fishing beginner guide after you are comfortable with the basic slip bobber setup.
Frequently Asked Questions
What should I check first with a slip bobber rig?
Check that the bobber slides freely before you cast. If it sticks on the line, your bait may not sink to the depth you set.
How deep should I set a slip bobber?
Start a little above the depth where you expect fish or above visible weeds. Then move the stop deeper or shallower in small steps based on bites and snags.
Can I use worms with a slip bobber?
Yes. Worms, minnows, and small panfish baits can all work. Match the hook and bait size to the fish you are targeting.
Can I go back to a regular bobber later?
Absolutely. Use the regular bobber for shallow, easy spots and the slip bobber when depth or casting comfort makes the fixed setup awkward.
Final Thoughts
Slip bobber fishing is not a complicated trick. It is simply a smarter way to keep the easy bobber signal while reaching deeper water with less casting trouble.
Start with one stop, one bead, one slip bobber, a small split shot, and a familiar bait. Test close, adjust slowly, and let the float teach you what is happening below the surface.