Split shot fishing weights are tiny pieces of tackle, but they can make a big difference in how naturally your bait sinks and how neatly your line behaves. Used well, they help a worm, minnow, or small bait settle into the strike zone without making the whole rig feel heavy.
Used carelessly, split shot can pinch the line too hard, slide around, catch weeds, or spin into a tangle on the cast. The good news is that most split shot problems come from the same few habits: too much weight, poor placement, and rushing the cast.
If your casting still feels shaky, spend a little time with our casting basics guide before fine-tuning weights. A smooth, relaxed cast does more to prevent tangles than any fancy tackle trick.
Why Split Shot Fishing Weights Matter
Split shot weights are small round or oval sinkers with a narrow opening that lets you pinch them onto the fishing line. Their job is simple: help your bait sink, keep it at a useful depth, and add just enough control without overpowering the presentation.
Beginners often think more weight means better control. In freshwater fishing, that is not always true. Too much weight can make a bait fall unnaturally, drag through muck, or swing like a pendulum during the cast. A little split shot, placed carefully, usually works better than a big clump of weight.
Start With the Right Freshwater Setup
For most beginner freshwater trips, split shot works best with simple rigs: a bobber and bait, a light bottom rig, or a small live bait setup. You do not need a drawer full of sizes. A small assortment of removable split shot gives you enough room to adjust.
Match the weight to the job
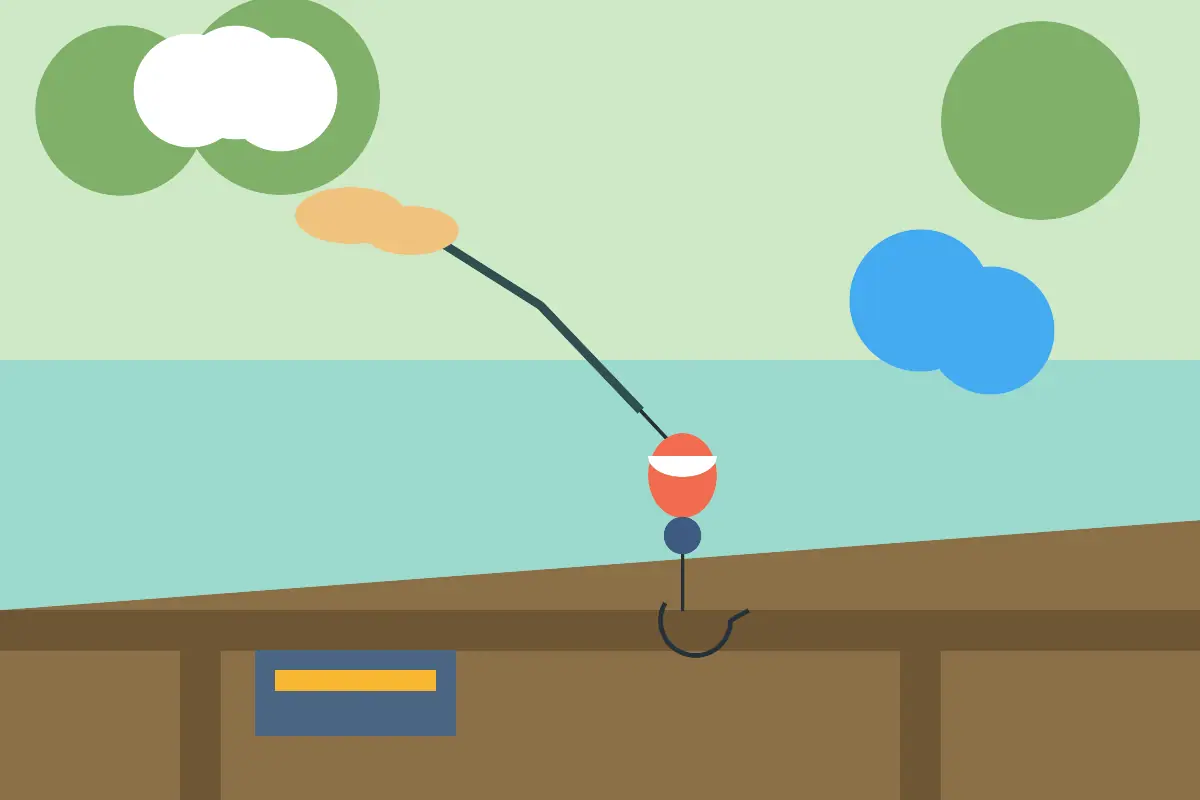
If you are fishing under a bobber, the split shot should help the bait settle while keeping the bobber floating correctly. If the bobber sinks or tilts hard to one side, you probably added too much weight for that float.
Keep the rig easy to cast
A balanced rig should cast in one smooth motion. If the weight, hook, and bait are swinging wildly before you cast, shorten the distance below the rod tip and reset your stance. The line should feel controlled, not like a loose chain.
When split shot is part of a bait rig, bait size matters too. Our live bait fishing guide explains how worms, crickets, and minnows behave differently on the hook, which helps you choose the right amount of weight.
Where to Place Split Shot on the Line
Placement is the heart of this whole topic. Put split shot too close to the hook, and fish may feel extra resistance or the bait may look stiff. Put it too far away, and the bait may drift higher than you want or tangle during the cast.
For a basic bobber rig, a friendly starting point is one small split shot about 6 to 12 inches above the hook. That gives the bait room to move while still helping it sink. Take Me Fishing explains that weights and sinkers help carry bait to the right depth, and its fishing weights and bobbers guide is a useful outside reference when you want to compare simple sinker choices.
Some waters also restrict lead tackle or require non-lead weights. Before fishing a new lake, refuge, or state-managed area, check local rules instead of guessing. Non-lead split shot is widely available and can be a good default if you want a simple, wildlife-friendly habit.
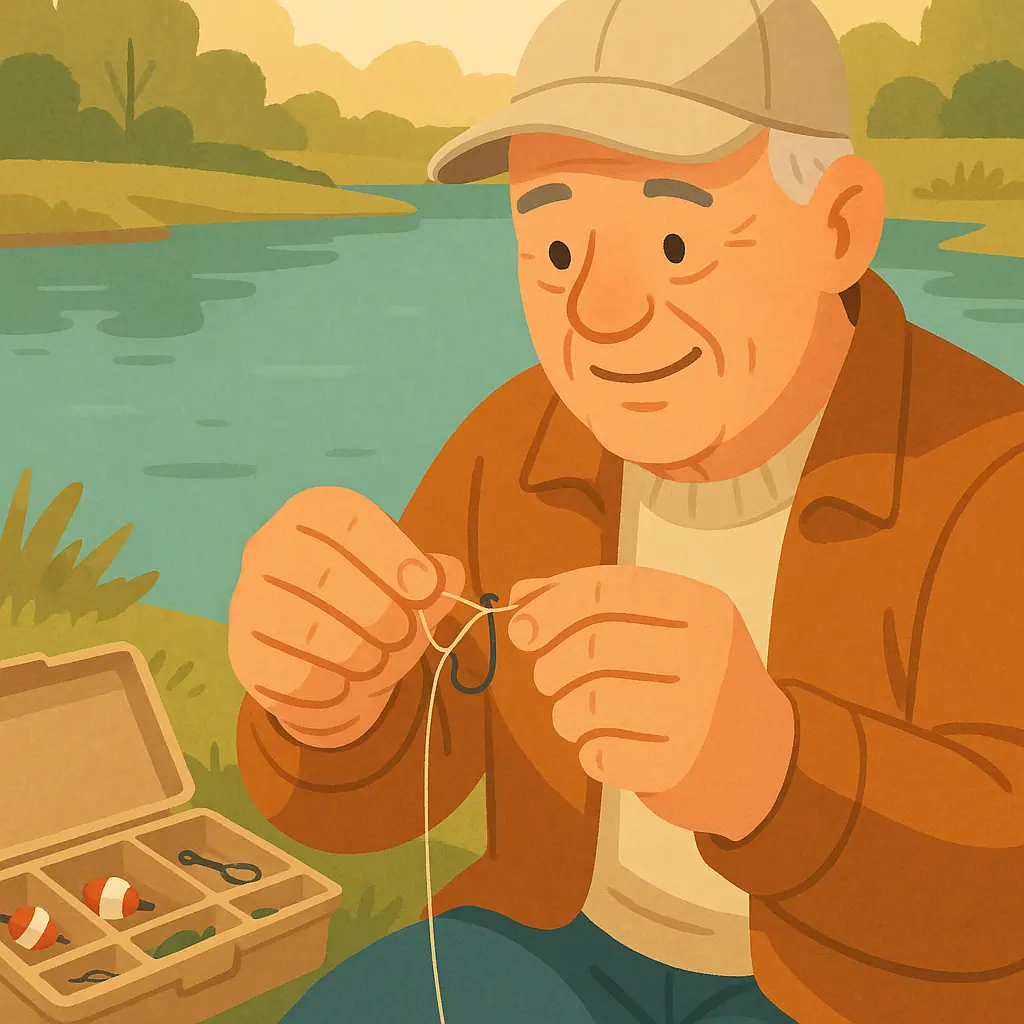
How to Attach Split Shot Without Damaging Line
Split shot should hold firmly, but it should not crush the line. Pinching too hard can weaken monofilament, especially light line used for panfish and trout. Treat it like tightening a jar lid: snug enough to do the job, not so hard you break something.
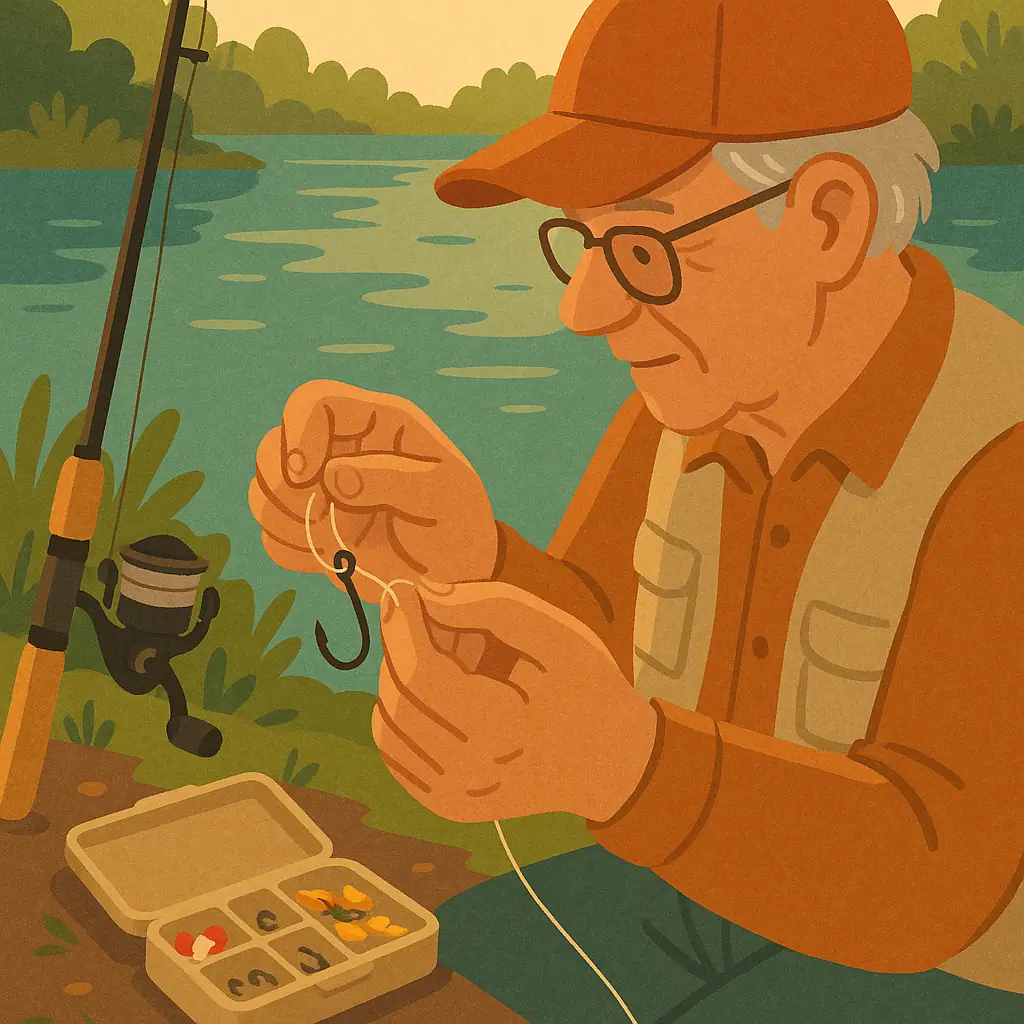
Step 1: Choose one small shot
Start with one small piece. If you need more depth or current control, you can add another later. Beginning with three or four pieces often creates tangles before you learn what the water actually requires.
Step 2: Place it above the hook
For a bobber or bait rig, clip the shot above the hook, not right against the knot. Give the hook and bait enough space to move naturally. If you are using a slip bobber, place the shot where it helps the bait sink cleanly without blocking the bobber from sliding.
Step 3: Pinch gently and test
Use your fingers or small pliers to close the split shot. Tug lightly on the line. If the shot slides with almost no pressure, tighten it a touch. If the line looks flattened, kinked, or rough, remove the shot and retie if needed.
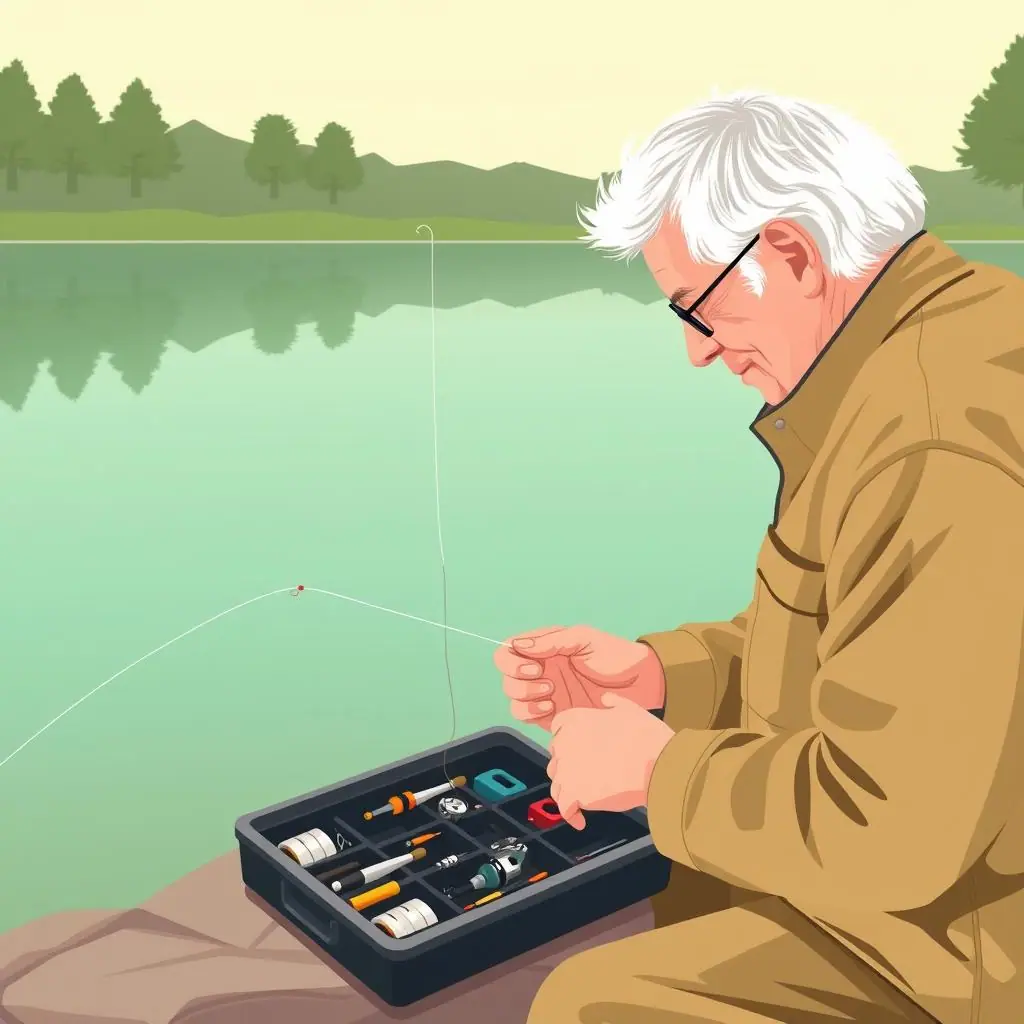
Step 4: Drop-test before casting
Lower the rig into the water near your feet or beside the dock. Watch how the bait falls. If it drops like a rock, remove weight. If it barely sinks, add one small shot or move it slightly closer to the hook.
How to Avoid Tangles When Casting
Most split shot tangles happen before the bait ever reaches the water. The rig starts spinning behind you, the weight crosses the hook, and everything lands in a little nest. Slow down and make the cast boring on purpose.
- Use a smooth swing: Avoid a sharp whip cast with bait rigs. A steady lob keeps the weight and hook traveling together.
- Shorten the drop: Leave a manageable amount of line between rod tip and rig before casting, usually not a long dangling leader.
- Check for twist: If the bait spins on retrieve, straighten it or rebait. Spinning bait twists line and invites tangles.
- Separate weight and hook: Keep split shot several inches above the hook so the bait has space and the weight does not crowd the knot.
- Cast away from clutter: Weeds, branches, dock posts, and grass behind you all turn small tangles into bigger ones.
A dependable knot also helps the rig stay tidy. If you need a refresher, practice the improved clinch knot at home with a larger hook before tying it on the bank.
Common Split Shot Mistakes to Avoid
The first mistake is using split shot as a fix for every problem. If fish are not biting, adding weight may not help. Sometimes the answer is a smaller hook, fresher bait, a quieter cast, or moving a few yards down the bank.
The second mistake is clamping old shot over the same worn section of line again and again. Every pinch can leave a tiny mark. If you move split shot several times, inspect the line and retie when it looks rough.
The third mistake is ignoring the bottom. A split shot that drags through weeds, leaves, or soft muck will snag and collect debris. Try fishing slightly higher or moving the shot farther from the hook so the bait rides cleaner.
Pros and Cons of Split Shot Weights
Simple and inexpensive
A small pack can handle many beginner bait rigs without requiring complicated tackle.
Easy to adjust
You can add, remove, or move weight until the bait sinks naturally.
Works with many rigs
Split shot pairs well with bobbers, worms, minnows, crickets, and light freshwater presentations.
Can damage light line
Pinching too hard can weaken monofilament and create rough spots.
Can tangle if overloaded
Too many weights make a rig clumsy and more likely to spin during the cast.
A Simple Split Shot Checklist
Before you make the first real cast, run through this quick check. It takes less than a minute and saves a lot of retying.
- One small shot first: Start light, then add only if the bait will not settle.
- Good spacing: Keep the shot several inches above the hook, with 6 to 12 inches as a useful bobber-rig starting range.
- Line looks clean: No kinks, flat spots, or rough sections near the weight.
- Bobber still floats: If using a float, the weight should not pull it under.
- Bait falls naturally: It should sink with control, not crash straight into bottom muck.
- Cast feels calm: The rig should swing smoothly without twisting around itself.
When to Get Extra Help
Ask a local tackle shop, fishing friend, or state fish and wildlife office if you are unsure about local sinker rules. Regulations can vary by water body, especially around wildlife refuges, trout waters, and areas with lead restrictions.
Also get help if your line keeps breaking near the split shot. That usually means the shot is pinched too hard, the line is old, or the rig is rubbing cover. Fresh line and gentler pressure solve many of those issues.
Frequently Asked Questions
What should I check first with split shot fishing weights?
Check whether you are using too much weight. Start with one small split shot, test the bait close to shore, and add more only if the rig truly needs it.
How far should split shot be from the hook?
For a simple bobber rig, 6 to 12 inches above the hook is a practical starting point. Adjust from there based on depth, weeds, current, and how naturally the bait moves.
Can split shot weaken fishing line?
Yes, if it is clamped too tightly or moved repeatedly on the same spot. Pinch gently, inspect the line, and retie if you see a kink or rough patch.
Can I switch to non-lead split shot?
Yes. Non-lead options are a smart choice in many places and may be required on certain waters. Check local rules before fishing somewhere new.
Final Thoughts
Split shot fishing weights are most helpful when they stay small, balanced, and purposeful. You are not trying to anchor the bait; you are helping it reach the right depth while still looking natural.
Start light, place the shot carefully, test the fall close to shore, and cast with an easy motion. That calm little routine will prevent most tangles before they ever have a chance to form.